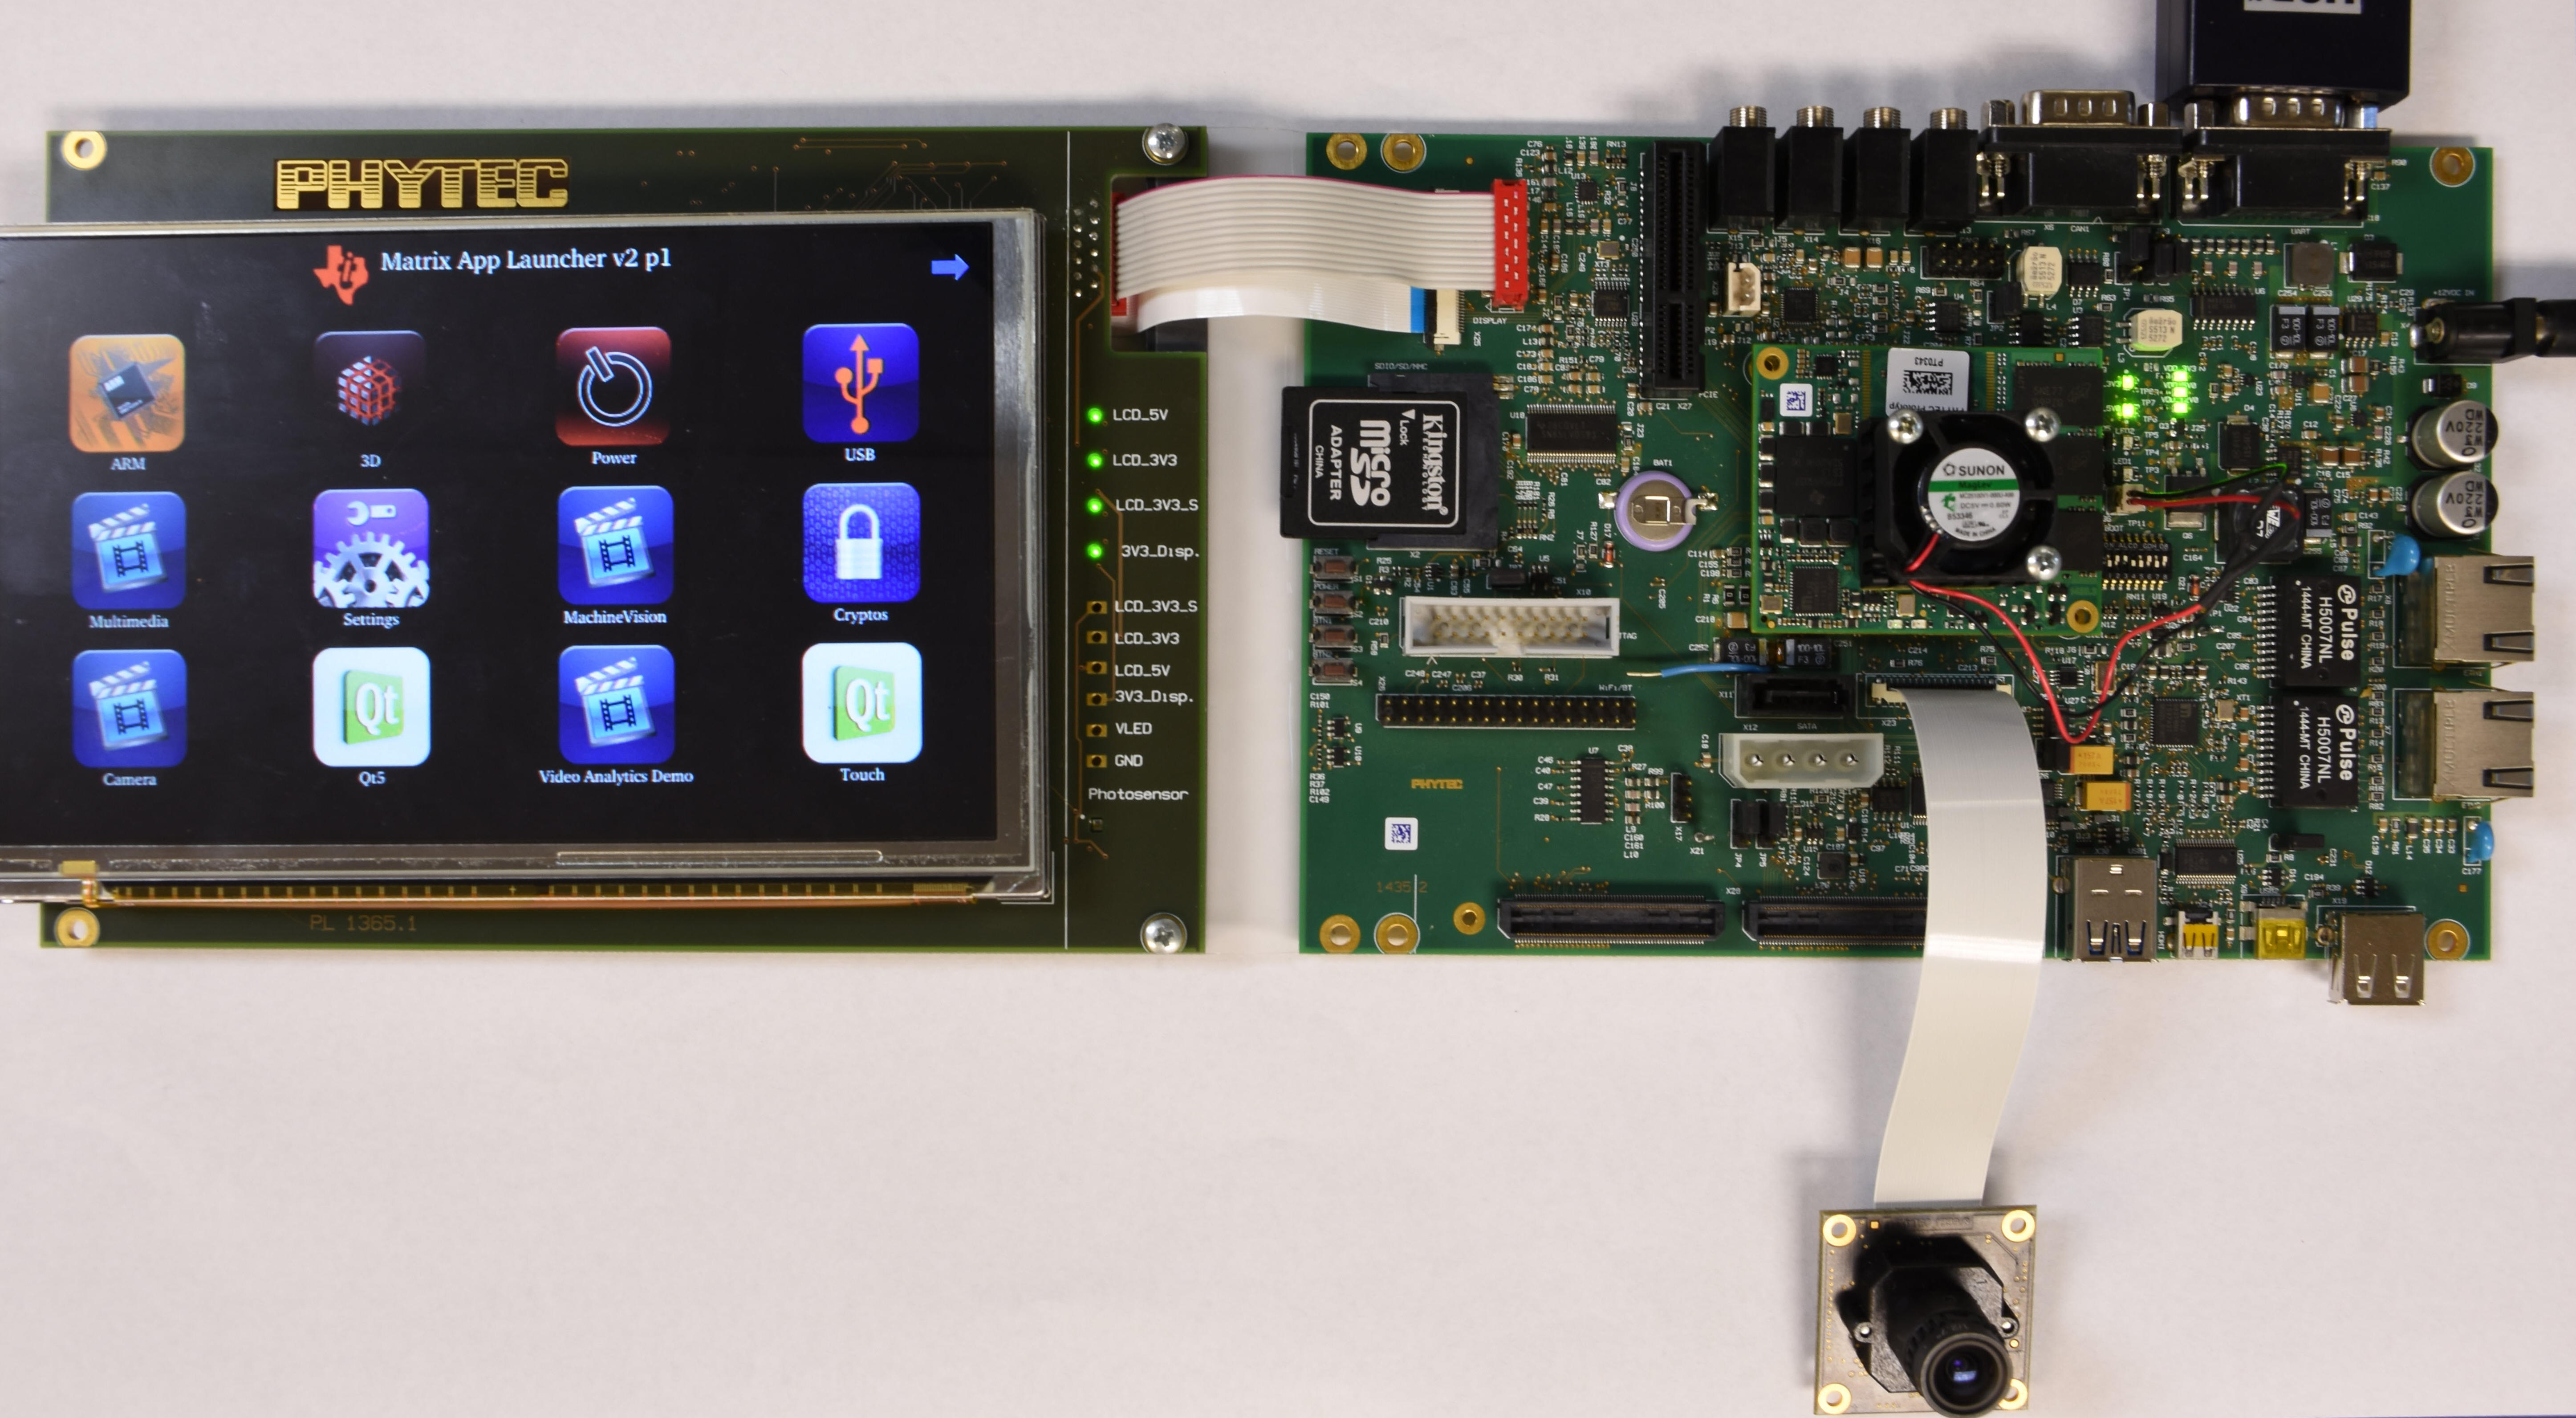
| Targeted Hardware | phyCORE-AM572x System on Module (PCM-057) phyCORE-AM572x Baseboard (PCM-948) |
| Targeted Software | |
| Date |
|
Required Hardware
- phyCORE-AM5728 SOM (PCM-057)
- phyCORE-AM572x Carrier Board (PCM-948)
- Display. Recommended PHYTEC 7" capacitive touchscreen Display (LCD-018-070-KAP)
- 12V 2A Power supply with a barrel jack connector
- RS232 DB9 Serial Cable
- Bootable SD Card: Refer to the section 6 "Creating a Bootable SD Card" of the 18.1.0 quickstart to create an SD card.
- PHYTEC VM-009-M12 camera module (optional)
Step-by-step guide
1. Connect the display to the RDK board. The display should be connected to the LCD power and data connectors at X25.
2. If you are using the PHYTEC VM-009-M12 camera module, install as described in the How to Test Camera on the phyCORE-AM57x Linux RDK guide.
3. Connect the 12V power supply, press the S2 switch to power on the board. After Linux boots enter 'root' as the user name to log in.
PHYTEC: BSP-Yocto-TISDK-AM57xx-PD18.1.0
am5728-phycore-rdk login: root
root@am5728-phycore-rdk:~#
4. Execute the following commands to stop the TI Matrix GUI and Weston.
root@am572x-phycore-rdk:~# /etc/init.d/matrix-gui-2.0 stop
Stopping Matrix GUI application.
root@am572x-phycore-rdk:~# /etc/init.d/weston stop
Stopping Weston
5. Use the GStreamer pipeline examples below to test various functions. If you have installed a camera, use the 'Video Source' pipelines, otherwise the 'File Source' pipelines that use the pre-installed videos.
Video Source
These pipelines use PHYTEC's VM-009-M12 camera module as a video input source to demonstrate the decoding and encoding capabilities of the AM572x processor. Output is displayed to the connected LCD, encoded to file (MPEG4), as well as both simultaneously. There are multiple output file formats to choose from.
gst-launch-1.0 v4l2src device=/dev/video1 num-buffers=1000 io-mode=4 ! 'video/x-raw, format=(string)YUY2, width=(int)1280, height=(int)1024' ! vpe num-input-buffers=8 ! queue ! kmssink
gst-launch-1.0 -e v4l2src device=/dev/video1 num-buffers=1000 io-mode=4 ! 'video/x-raw, format=(string)YUY2, width=(int)1280, height=(int)1024, framerate=(fraction)10/1' ! vpe num-input-buffers=8 ! queue ! ducatimpeg4enc bitrate=4000 ! queue ! mpeg4videoparse ! qtmux ! filesink location=/home/root/test.mp4
gst-launch-1.0 -e v4l2src device=/dev/video1 num-buffers=1000 io-mode=4 ! 'video/x-raw, format=(string)YUY2, width=(int)1280, height=(int)1024, framerate=(fraction)10/1' ! vpe num-input-buffers=8 ! tee name=t ! queue ! ducatimpeg4enc bitrate=4000 ! queue ! mpeg4videoparse ! qtmux ! filesink location=/home/root/test.mp4 t. ! queue ! kmssink
File Source
These pipelines use a pre-recorded video source to demonstrate the decoding and encoding capabilities of the AM572x processor. Decoded output is displayed to the attached LCD and encoded video is saved to file in the h264 format.
gst-launch-1.0 filesrc location=/usr/share/ti/video/TearOfSteel-Short-720x420.m2v num-buffers=600 ! queue ! mpegvideoparse ! ducatimpeg2dec ! vpe ! 'video/x-raw, format=(string)NV12, width=(int)720, height=(int)480' ! kmssink
gst-launch-1.0 -v filesrc location=/usr/share/ti/video/HistoryOfTIAV-WVGA.mp4 ! qtdemux ! queue ! mpeg4videoparse ! ducatimpeg4dec ! queue ! kmssink
gst-launch-1.0 filesrc location=/usr/share/ti/video/airshow_p352x288.yuv ! videoparse width=352 height=288 format=nv12 ! video/x-raw, width=352, height=288 ! ducatih264enc ! filesink location=/home/root/airshow-352-288-nv12-inp_gst.h264
gst-launch-1.0 filesrc location=/usr/share/ti/video/TearOfSteel-Short-1280x720.265 ! 'video/x-raw, format=(string)NV12, framerate=(fraction)24/1, width=(int)1280, height=(int)720' ! h265dec threads=2 ! vpe ! kmssink