| Step | Image |
|---|
| 1 | Create or log into your AWS account. Here is the current link to the console sign-in: https://portal.aws.amazon.com/billing/signup#/start | |
| 2 | Connect the phyBoard-Zeta to the Internet. If this is the first time booting the board you will need to bring up the ethernet interfaces: - If using ethernet, power on the phyBOARD-Zeta, boot into Linux and log in
- Run the listed commands to set up the Internet
- (modify to the ethernet port that you're using)
|
| Code Block |
|---|
ifconfig eth0 up
udhcpc -i eth0


# To prevent commands from wrapping over themselves:
shopt -s checkwinsize && resize |
|
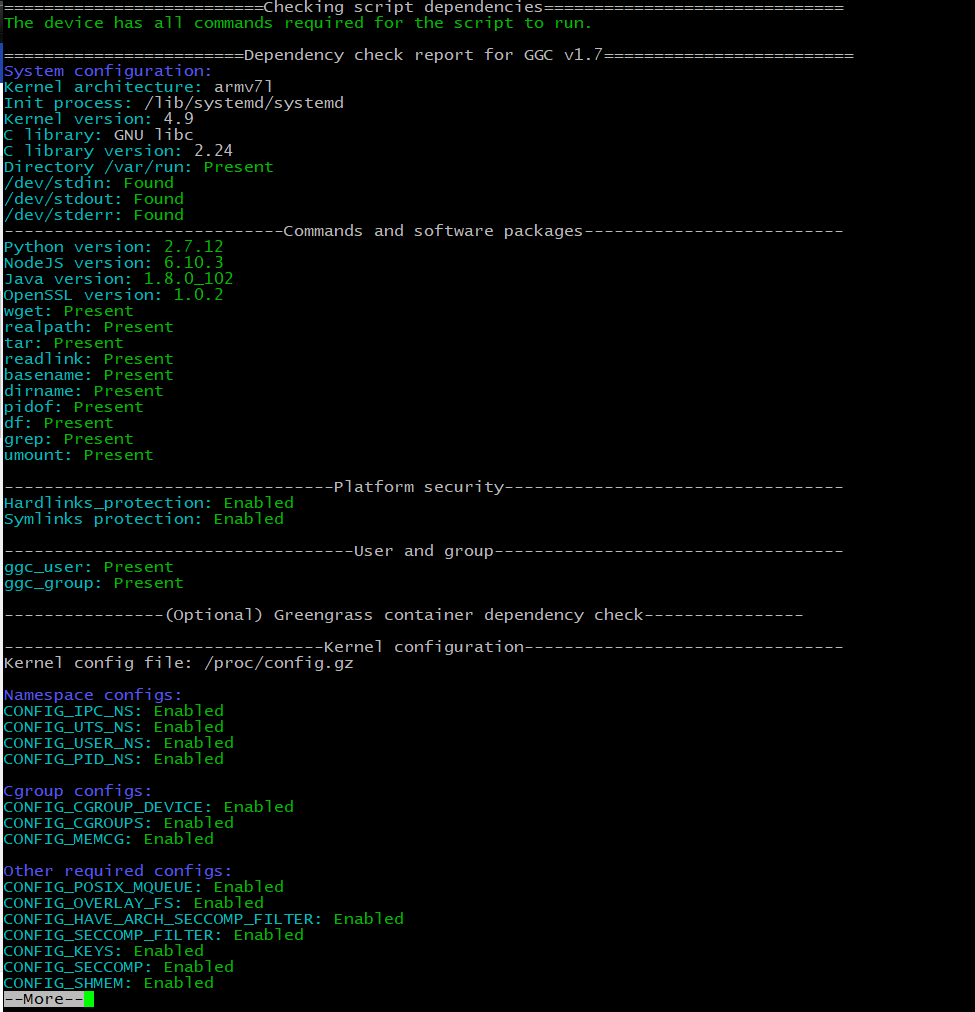
| 3 | Run the following commands to make sure everything is correctly configured for Greengrass:
If there are missing dependencies beyond Node v6.10 and Java 8, then the Greengrass option was not correctly configured in the image build. Try rebuilding the image and then proceed to the next step when all of the required dependencies are configured and installed. |
| Code Block |
|---|
mkdir ~/Downloads && cd ~/Downloads
wget https://github.com/aws-samples/aws-greengrass-samples/raw/master/greengrass-dependency-checker-GGCv1.7.1.zip
unzip greengrass-dependency-checker-GGCv1.7.1.zip
cd greengrass-dependency-checker-GGCv1.7.1
sudo modprobe configs
chmod +700 check_ggc_dependencies
sudo ./check_ggc_dependencies | more |
|
| 4 | Create a Greengrass group. - On the AWS IoT console, click "Greengrass" on the left
- Click "Create a group".
| |
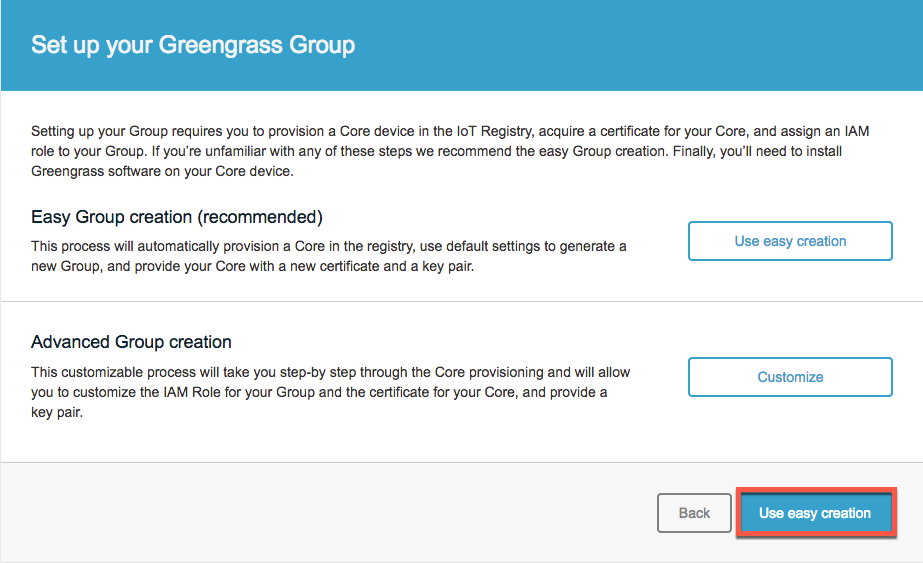
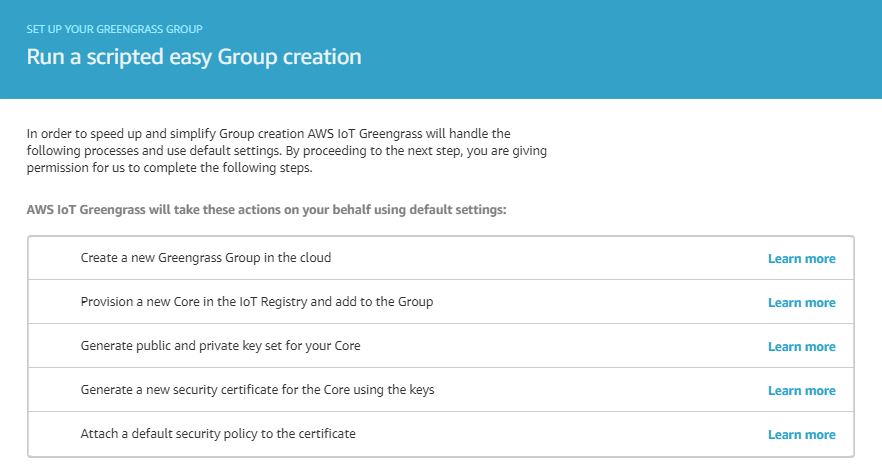
| 5 | - Select "use easy creation" to automatically generate certificates for the phyBoard-Zeta to connect to AWS Greengrass
- Select "provision a core" in the IoT Registry
| |
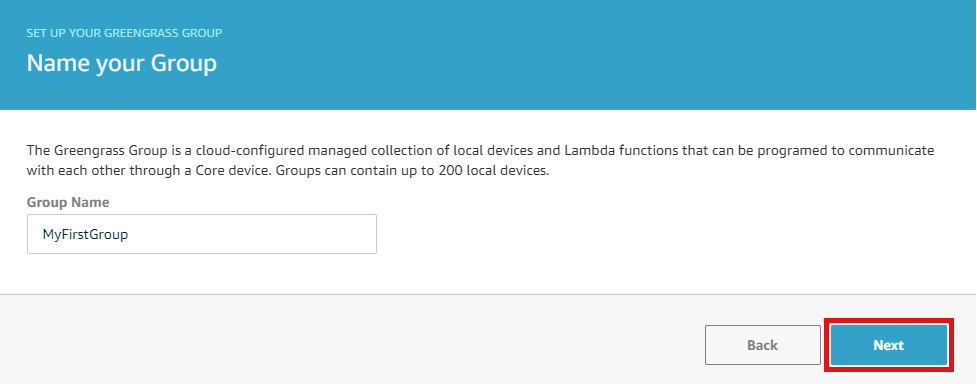
| 6 | Name your group in the "Group Name" box and click "Next". | |
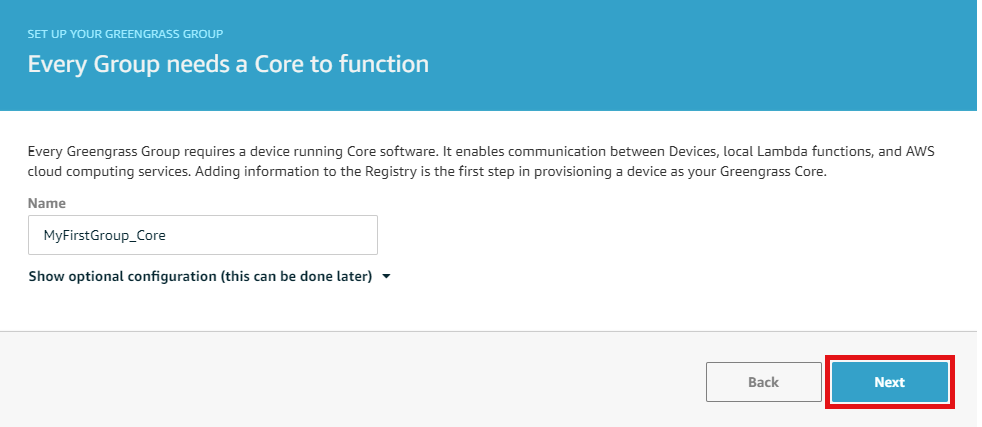
| 7 | Use the name provided for the core, and click "Next". | |
| 8 | Click "Create Group and Core" to finalize creating the Greengrass Group (AWS-side resources for the your set of devices). | |
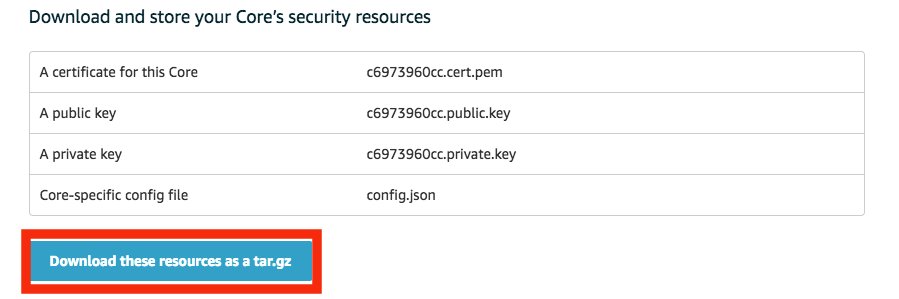
| 9 | On the confirmation page, download the certificate package. No need to download the software configuration package. Click "Finish". | |
| 10 | Transfer the certificate package from your computer to the i.MX7. | from Windows (not tested): | Code Block |
|---|
cd <insert path-to-downloaded-files>
pscp <insert hash>-setup.tar.gz root@<insert IP-address>:~/Downloads |
from macOS/Unix | Code Block |
|---|
cd <insert path-to-downloaded-files>
sudo scp <insert hash>-setup.tar.gz root@<insert IP-address>:~/Downloads |
|
| 11 | Return to the i.MX7. Decompress the certificate file and copy the root CA to the device. Check that the root.ca.pem isn't empty. |
| Code Block |
|---|
cd ~/Downloads
tar -xzvf <insert hash-setup>.tar.gz -C /greengrass
cd /greengrass/certs/
wget -O root.ca.pem https://www.amazontrust.com/repository/AmazonRootCA1.pem


# Check that the last command was successful
cat root.ca.pem |
|
| 12 | Start AWS GG daemon on the i.MX7 and check that the daemon is running (there will be a root entry for /greengrass/ggc/packages/1.7.0/bin/daemon). |
| Code Block |
|---|
cd /greengrass/ggc/core
sudo ./greengrassd start

# Check that daemon is running
ps aux | grep -E 'greengrass.*daemon' |
|
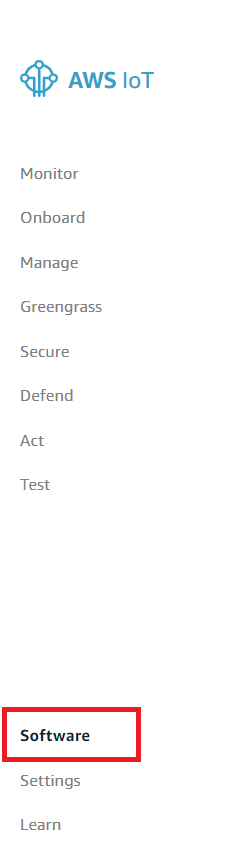
| 13 | Create the "Hello World" Lambda function. Return to the AWS IoT Core Console and select "Software" | |
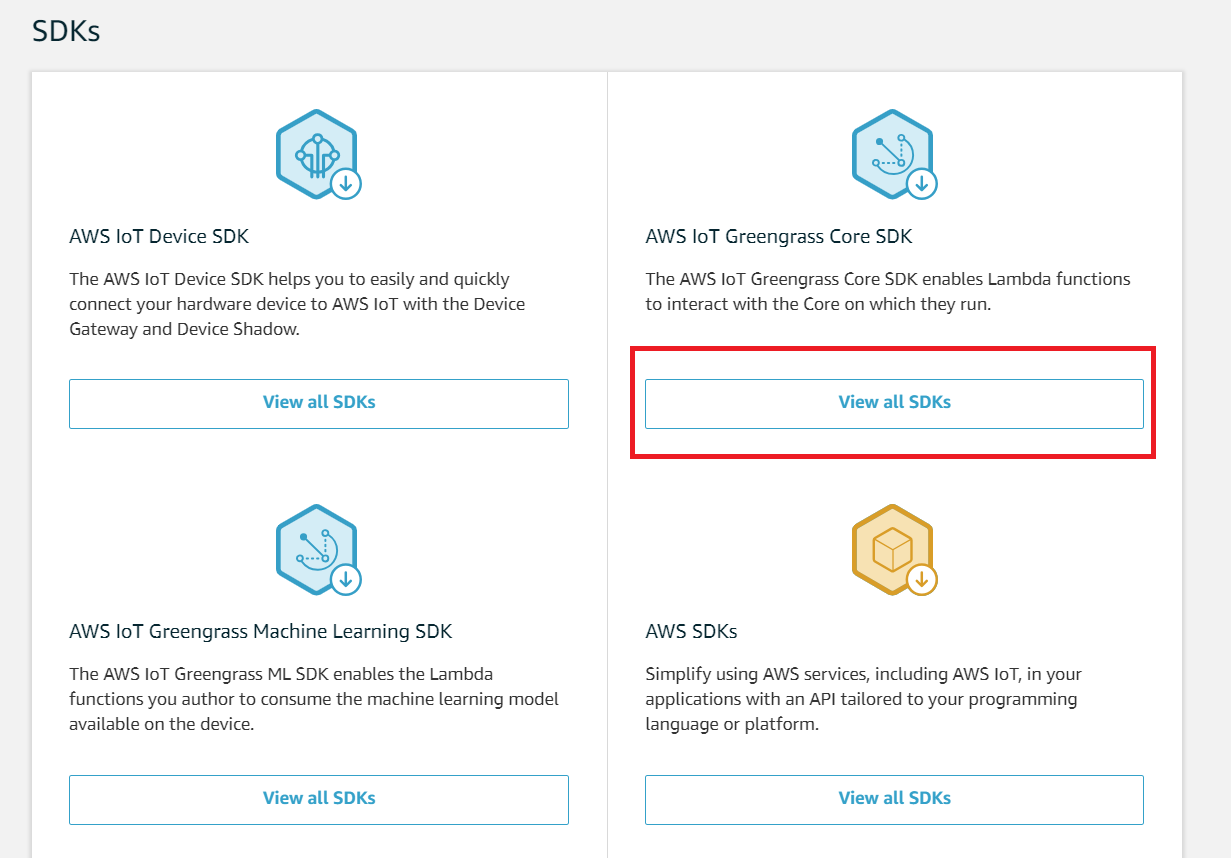
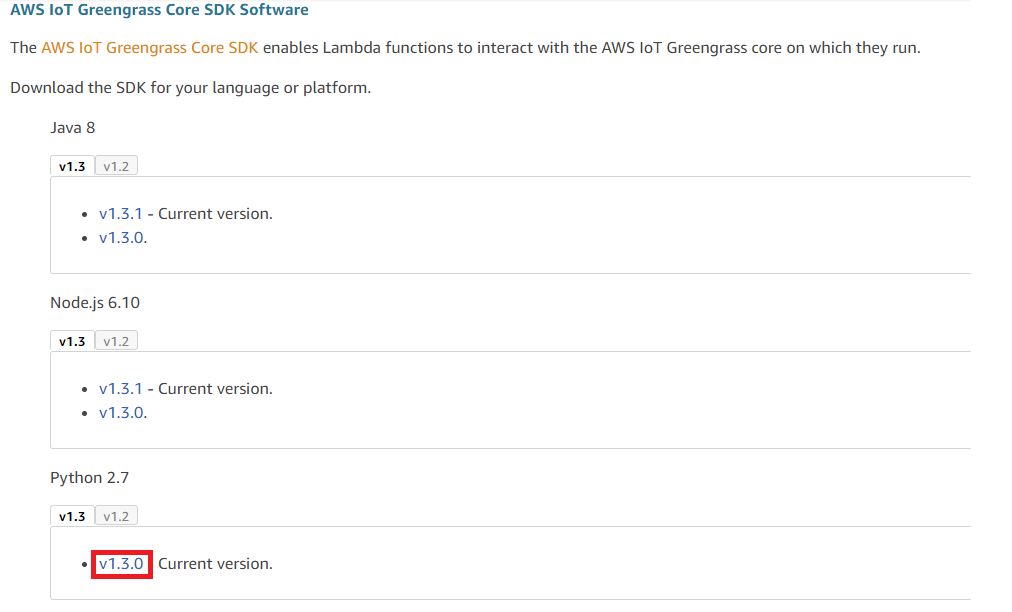
| 14 | Download the SDK: - Scroll down to "SDKs" and under "AWS IoT Greengrass Core SDK", select "View all SDKs"
- Click "v1.3.0" under "Python 2.7" to download the AWS IoT Greengrass Core SDK for Python
| |
| 15 | Decompress the "greengrass-core-python-sdk-1.3.0.tar.gz" downloaded from the last step. | Windows: install 7-Zip, right click on file, and choose "7-Zip" → "Open archive" → drag folder to desired location (image shows contents of folder) 
macOS: double click the file, open "sdk", and then unzip python_sdk_1_3_0.zip Unix: use the command line: | Code Block |
|---|
tar -xzf <path to greengrass-core-python-sdk-1.3.0.tar.gz>/greengrass-core-python-sdk-1.3.0.tar.gz
cd aws_greengrass_core_sdk/sdk
sudo unzip python_sdk_1_3_0.zip
|
|
| 16 | Now actually create the Lambda function. Move the greengrasssdk folder into the "examples"→ "HelloWorld" folder and zip them together. | 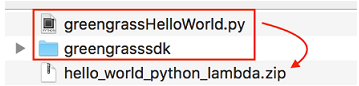
Unix (including macOS): | Code Block |
|---|
sudo zip -r hello_world_python_lambda.zip greengrasssdk greengrassHelloWorld.py |
Windows: 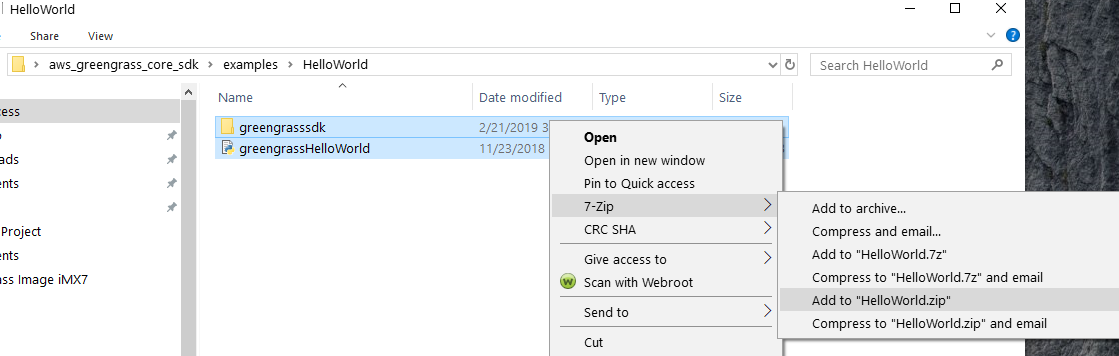
|
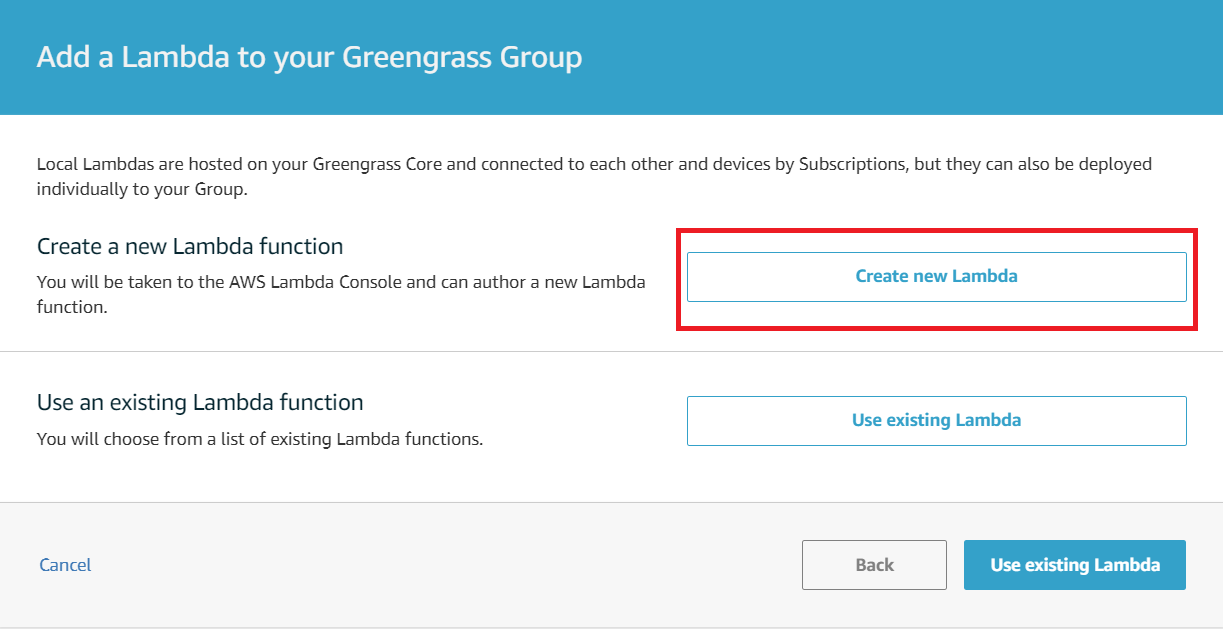
| 17 | Package the Lambda. On the group page in the AWS IoT Console, select "Lambda" → "Add Lambda" → "Create new Lambda". | |
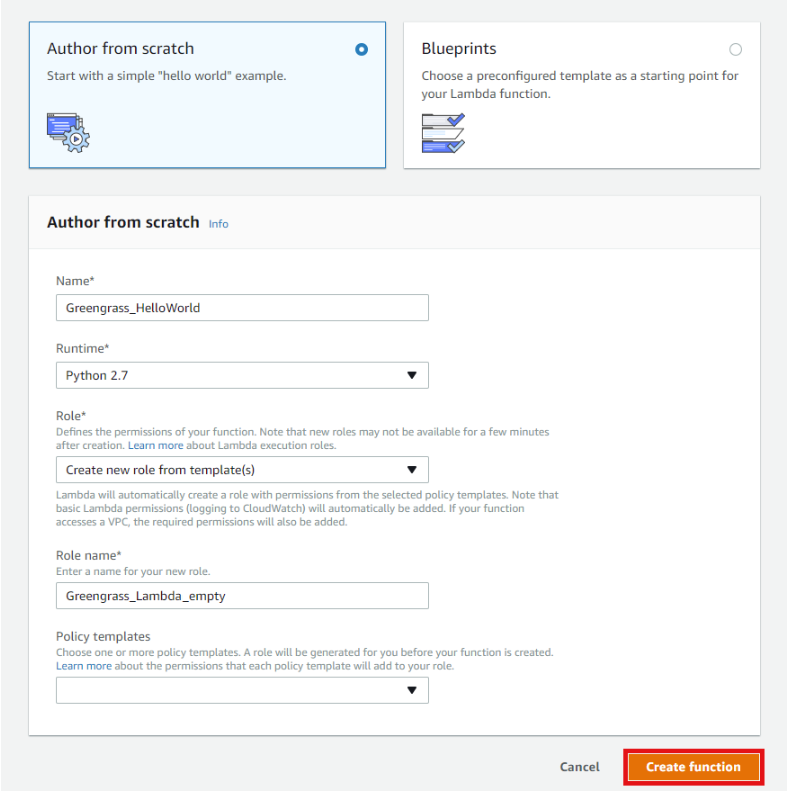
| 18 | In the AWS Lambda Console, fill out the "Author from Scratch" box like in the following screenshot, and then select "Create function" on the bottom: | |
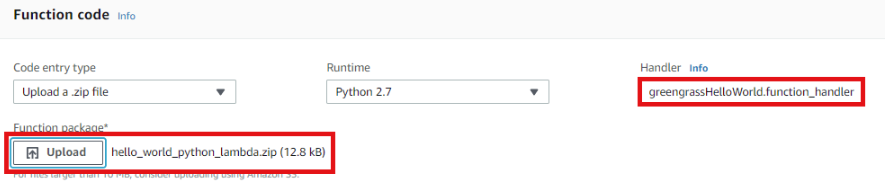
| 19 | - Upload the Lambda function deployment package created in Step 17 (could be named something different)
- Fill out the fields like in the image
- Code entry type: .zip file
- Runtime: Python 2.7
- Handler: greengrassHelloWorld.function_handler
- Save the function (upper right hand corner)
| |
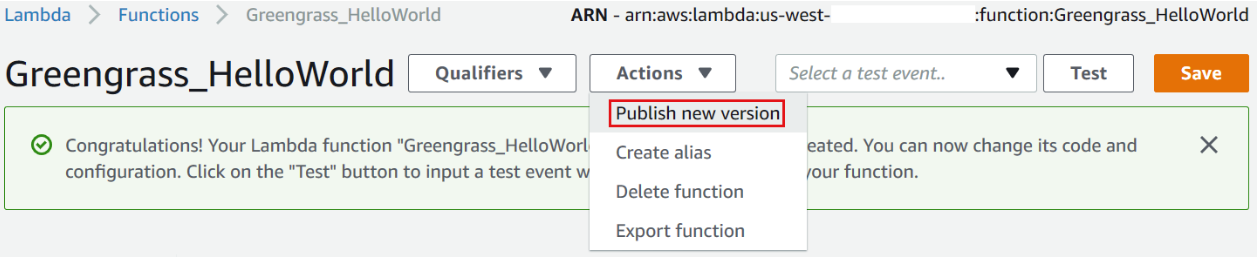
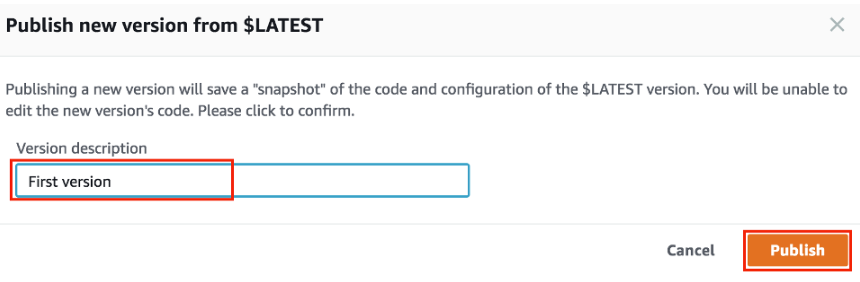
| 20 | Publish the Lambda function: - "Actions" → "Publish new version"
- In "Version Description" , enter anything (e.g. "First version"and then "Publish"
| |
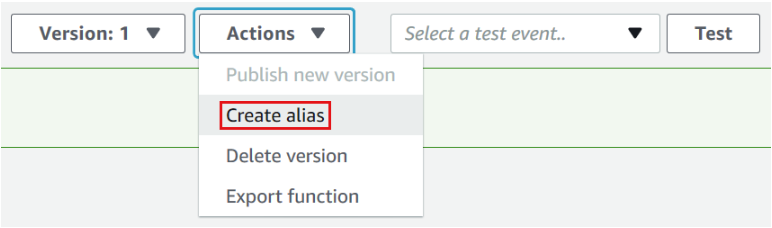
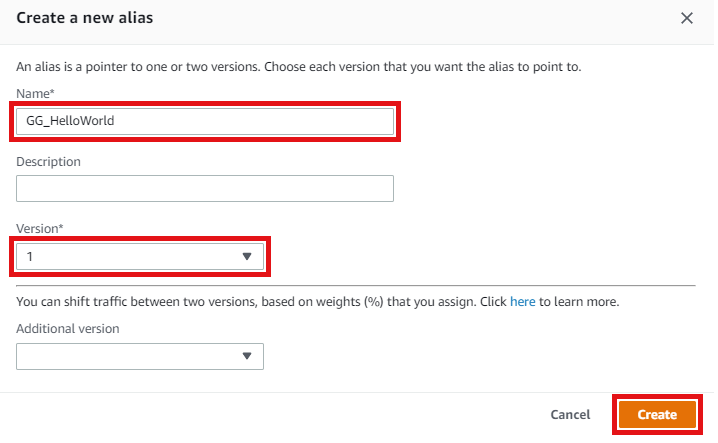
| 21 | Create an alias/ nickname for the Lambda function: - "Actions" → "Create alias"
- Enter a name (e.g. "GG_HelloWorld")
- Set version to "1"
- Click "Create"
| |
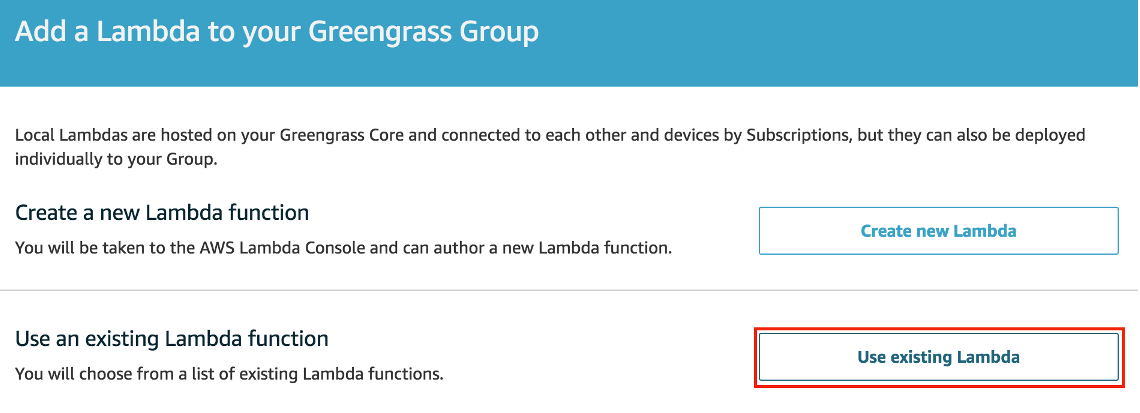
| 22 | Add the Lambda to your GG group to deploy: - Return to the group created in the AWS IoT Console
- Choose "Use existing Lambda"
- Select the Lambda created in the last step
| |
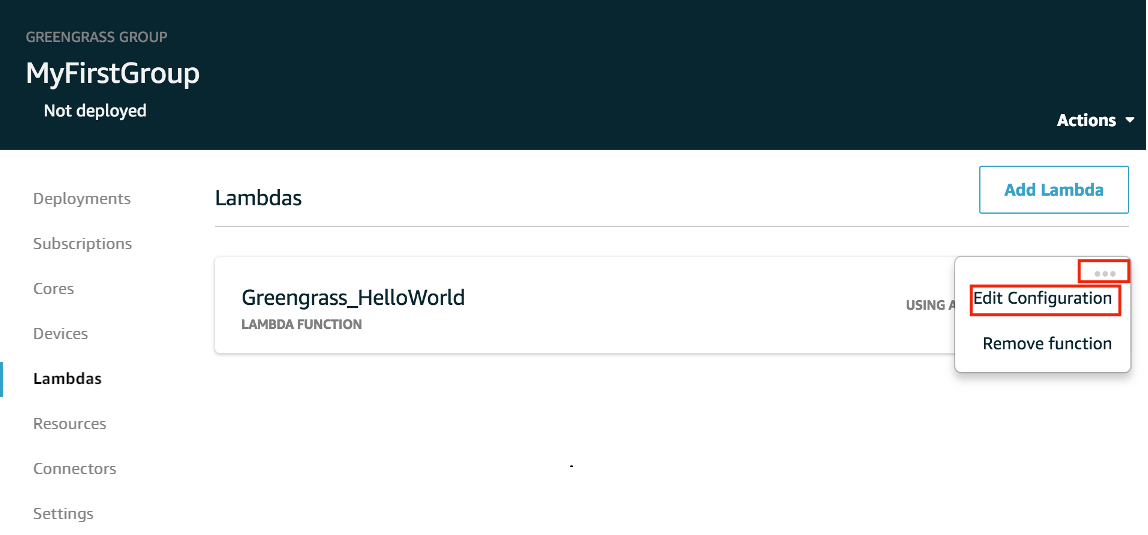
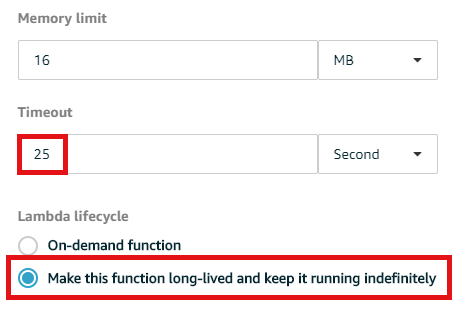
| 23 | Edit the Lambda's configuration for the group: - For version, choose "Alias: GG_HelloWorld", or whatever alias was chosen for the Lambda
- Set the settings as the ones in the lower image
- Choose "Update"
| |
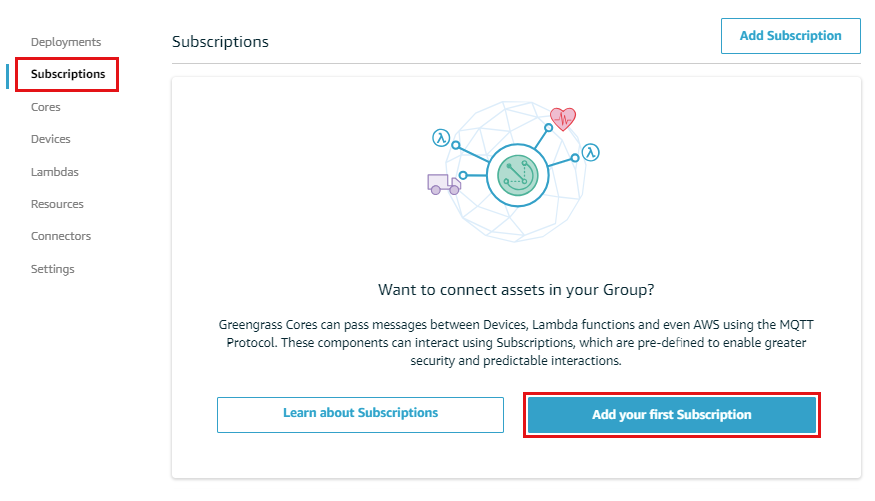
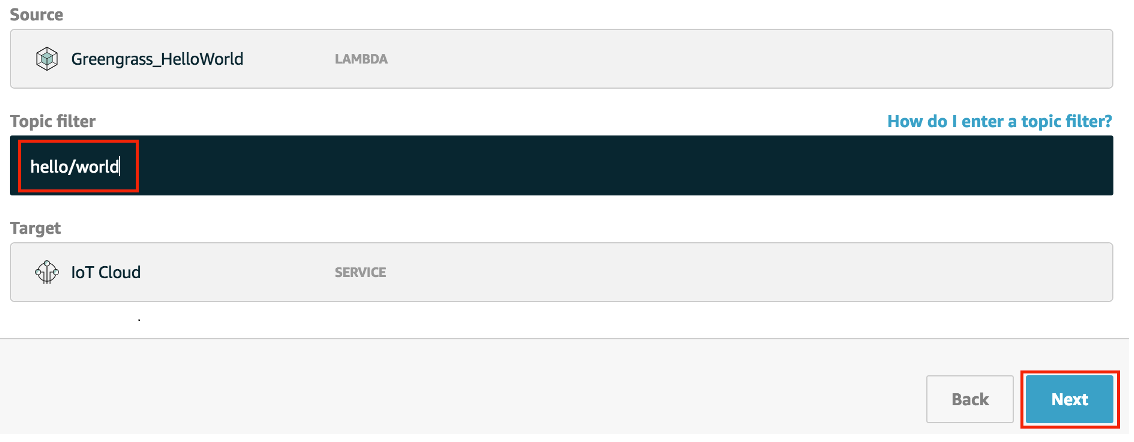
| 24 | Create a subscription to the MQTT topic: - Choose "Subscriptions"
- For "Select a source", choose "Select"
- Choose the "Lambdas" tab and then "Greengrass_HelloWorld"
- For "Select a target" choose "Select"
- Choose the "Services" tab, and then choose "IoT Cloud", "Next"
- In the "Topic filter" section, type "hello/world", and then hit "Next"
| |
| 25 | Deploy the Lambda: - Select "Actions" → "Deploy"
- The first time may take awhile
- If deployment takes more than 20 - 30 minutes, try:
- "Actions" → "Reset Deployments"
- Check the box that says "Do you want to force the reset"
- Click "Reset deployment"
- Redeploy like before
- The "Deployments" tab will contain a log of successes/failures, also indicated by the colored dot in the heading
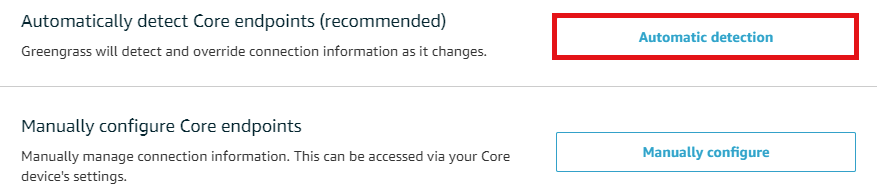
- Choose "Automatic detection" in the next window
| |
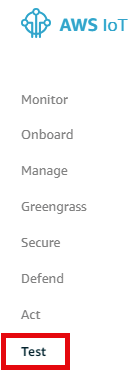
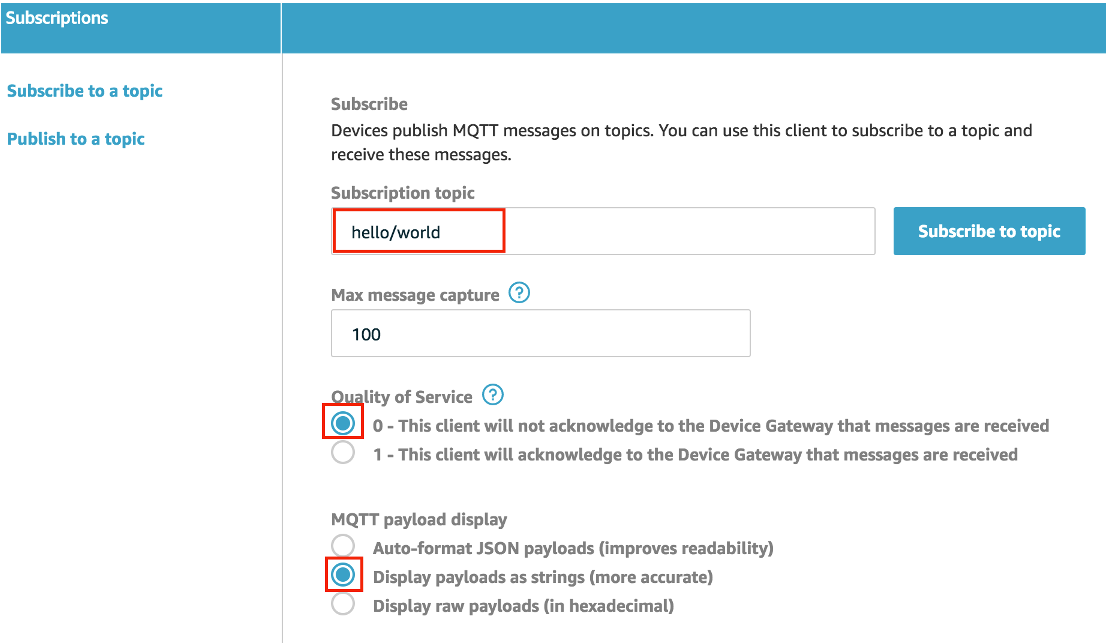
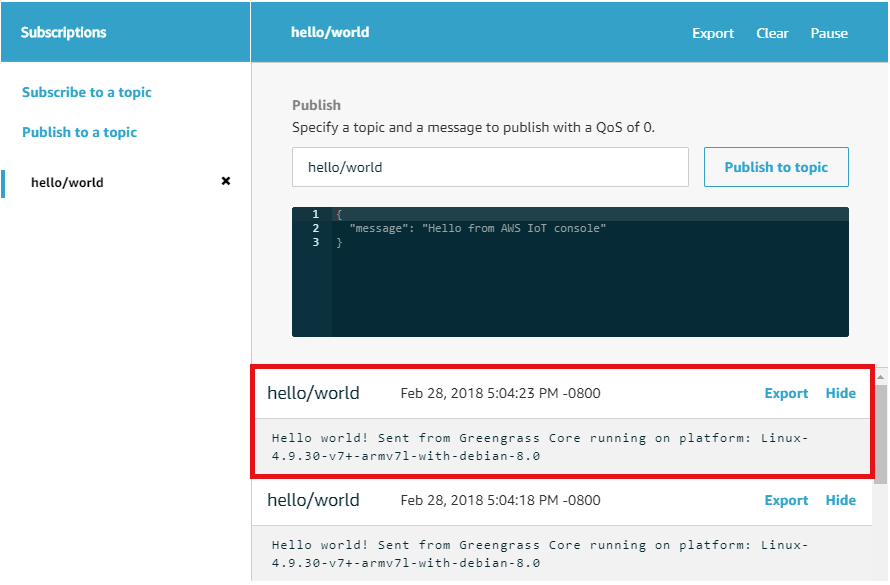
| 26 | See the MQTT messages: - In the side bar of the AWS IoT Core console, choose "Test"
- Choose "Subscribe to topic" in the left-hand column and set the settings to look like the lower image
- Now click "Subscribe to topic" to the right of the "Subscription Topic" field
| |
| 27 | There should now be a "Hello world!" MQTT message appearing in the AWS IoT test console every five or so seconds!
| |